You need the Owner, Admin or Developer role to create a service, and your organization’s plan must have room for it.
Start creating a service
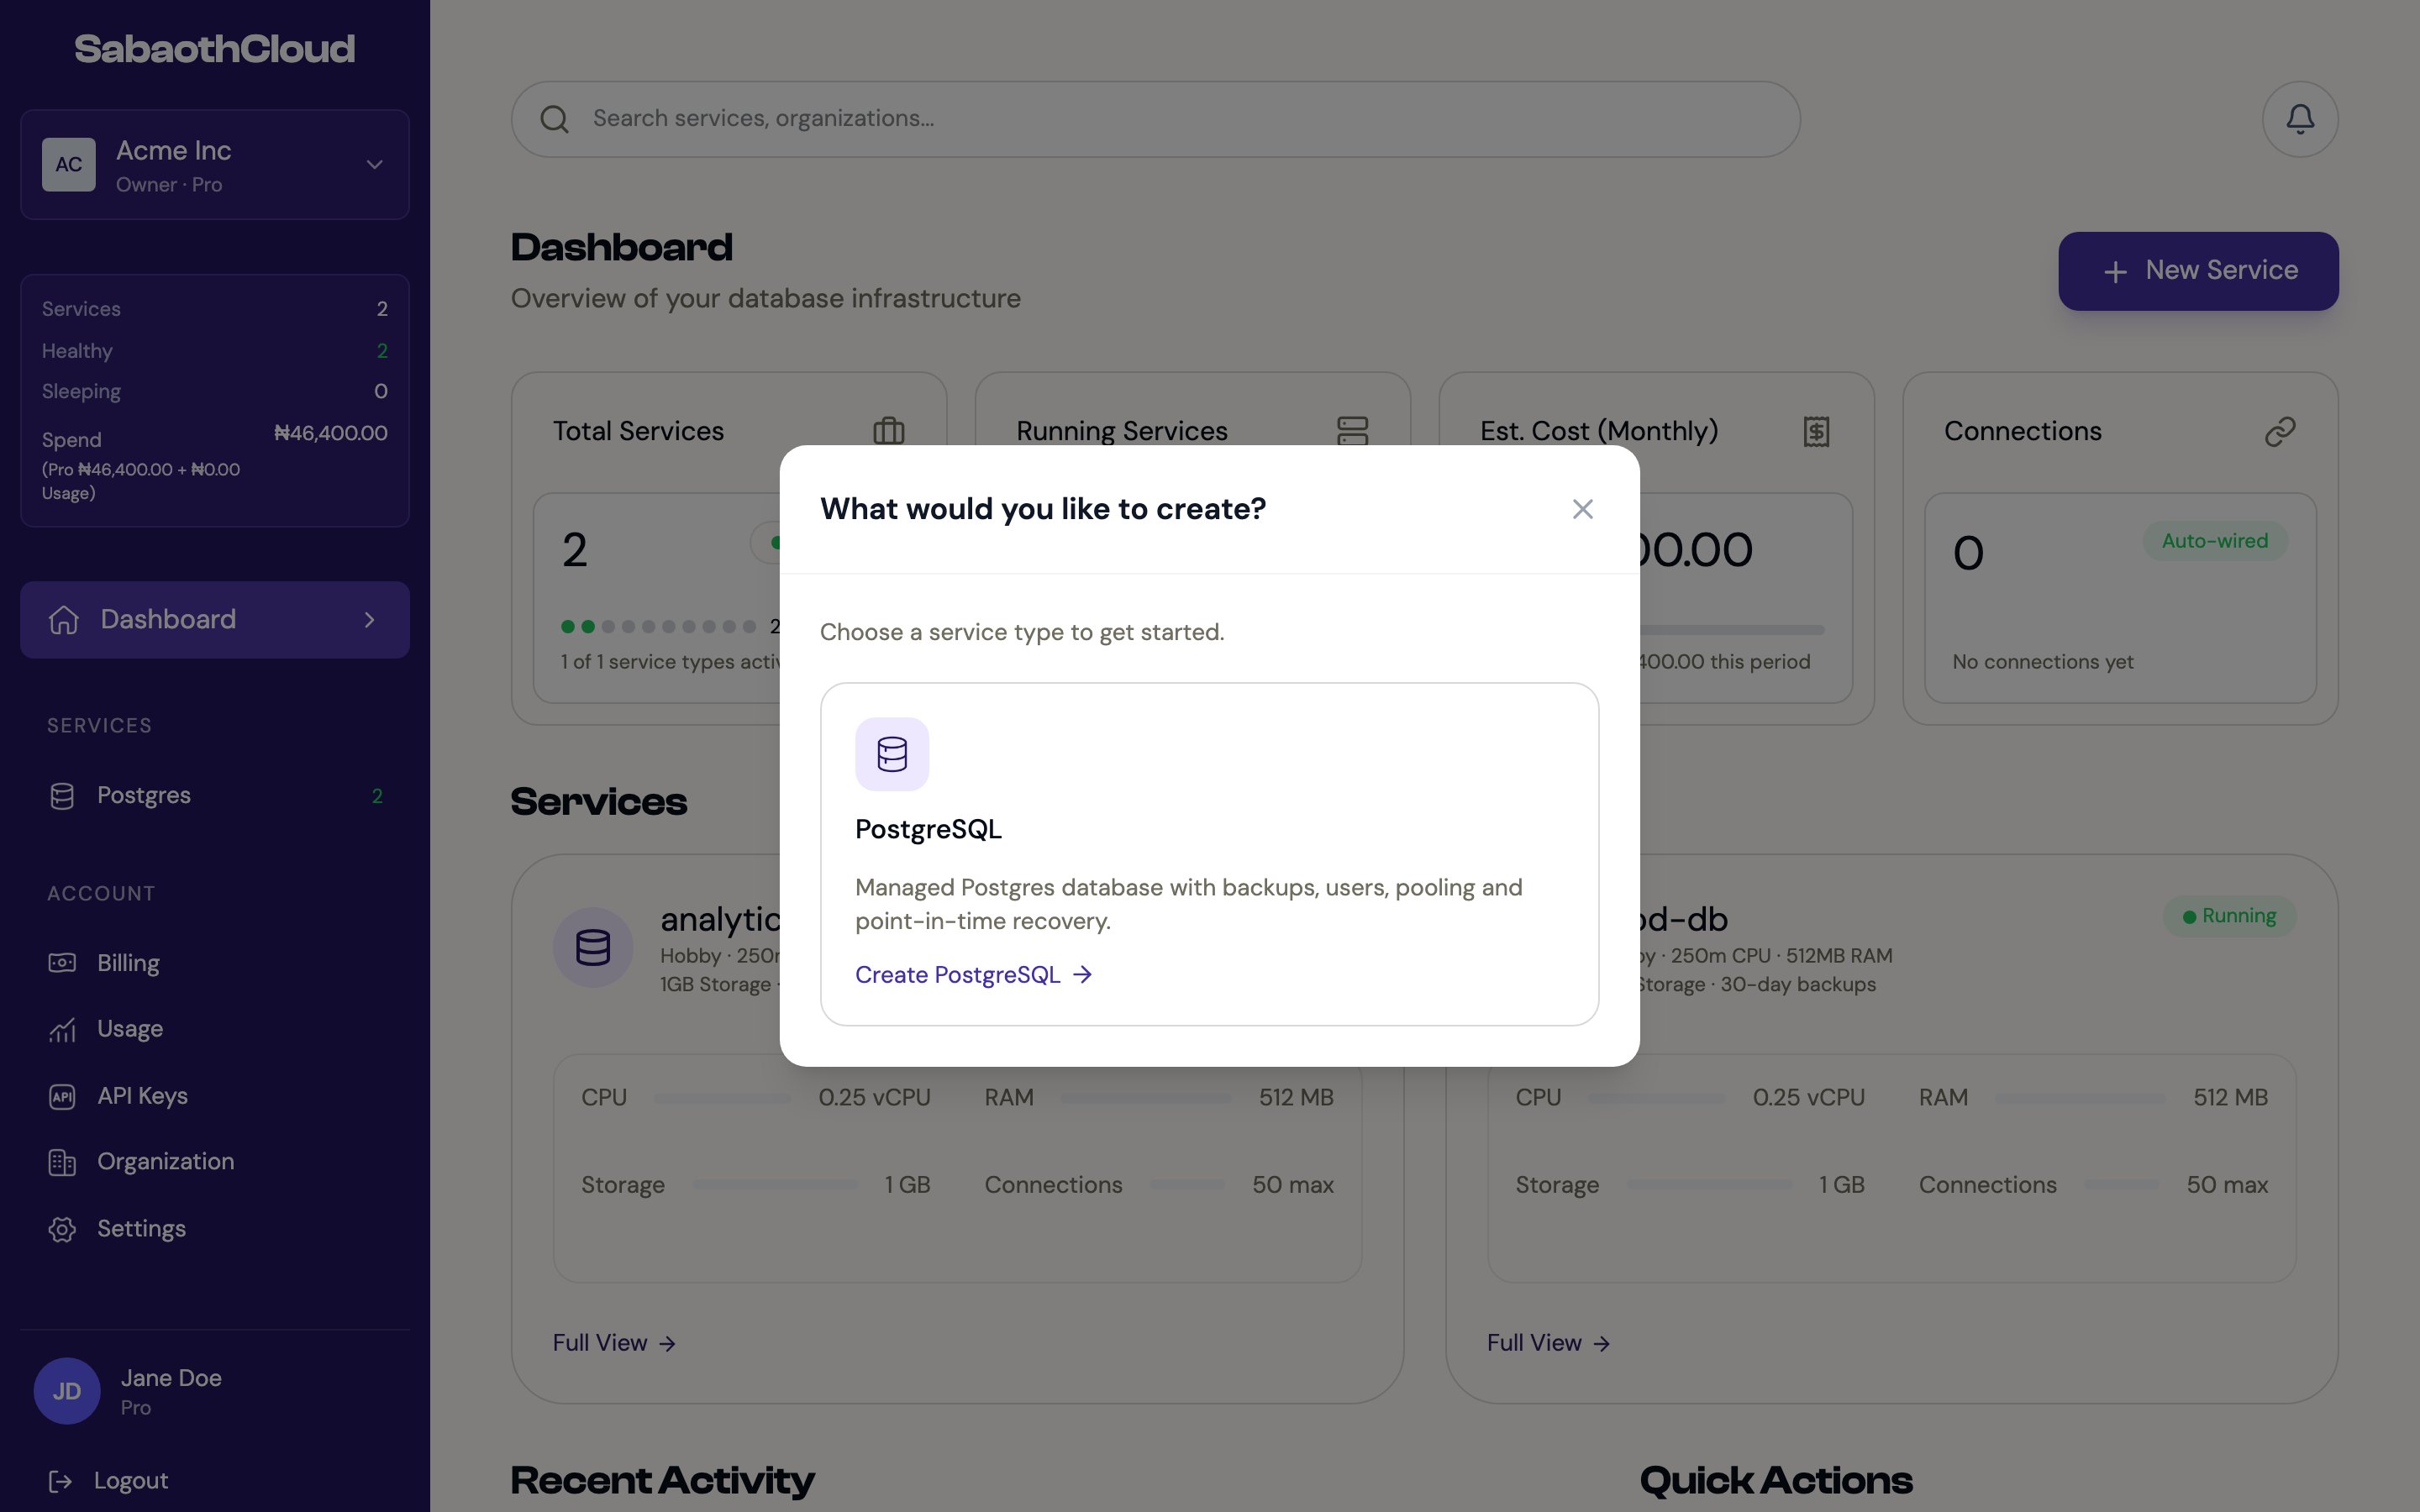
Use any of these:- On the dashboard, click New Service and choose PostgreSQL.
- In the sidebar, open Postgres and click New Service.
- Search for New Postgres service in the search bar.
Step 1: Name and resources
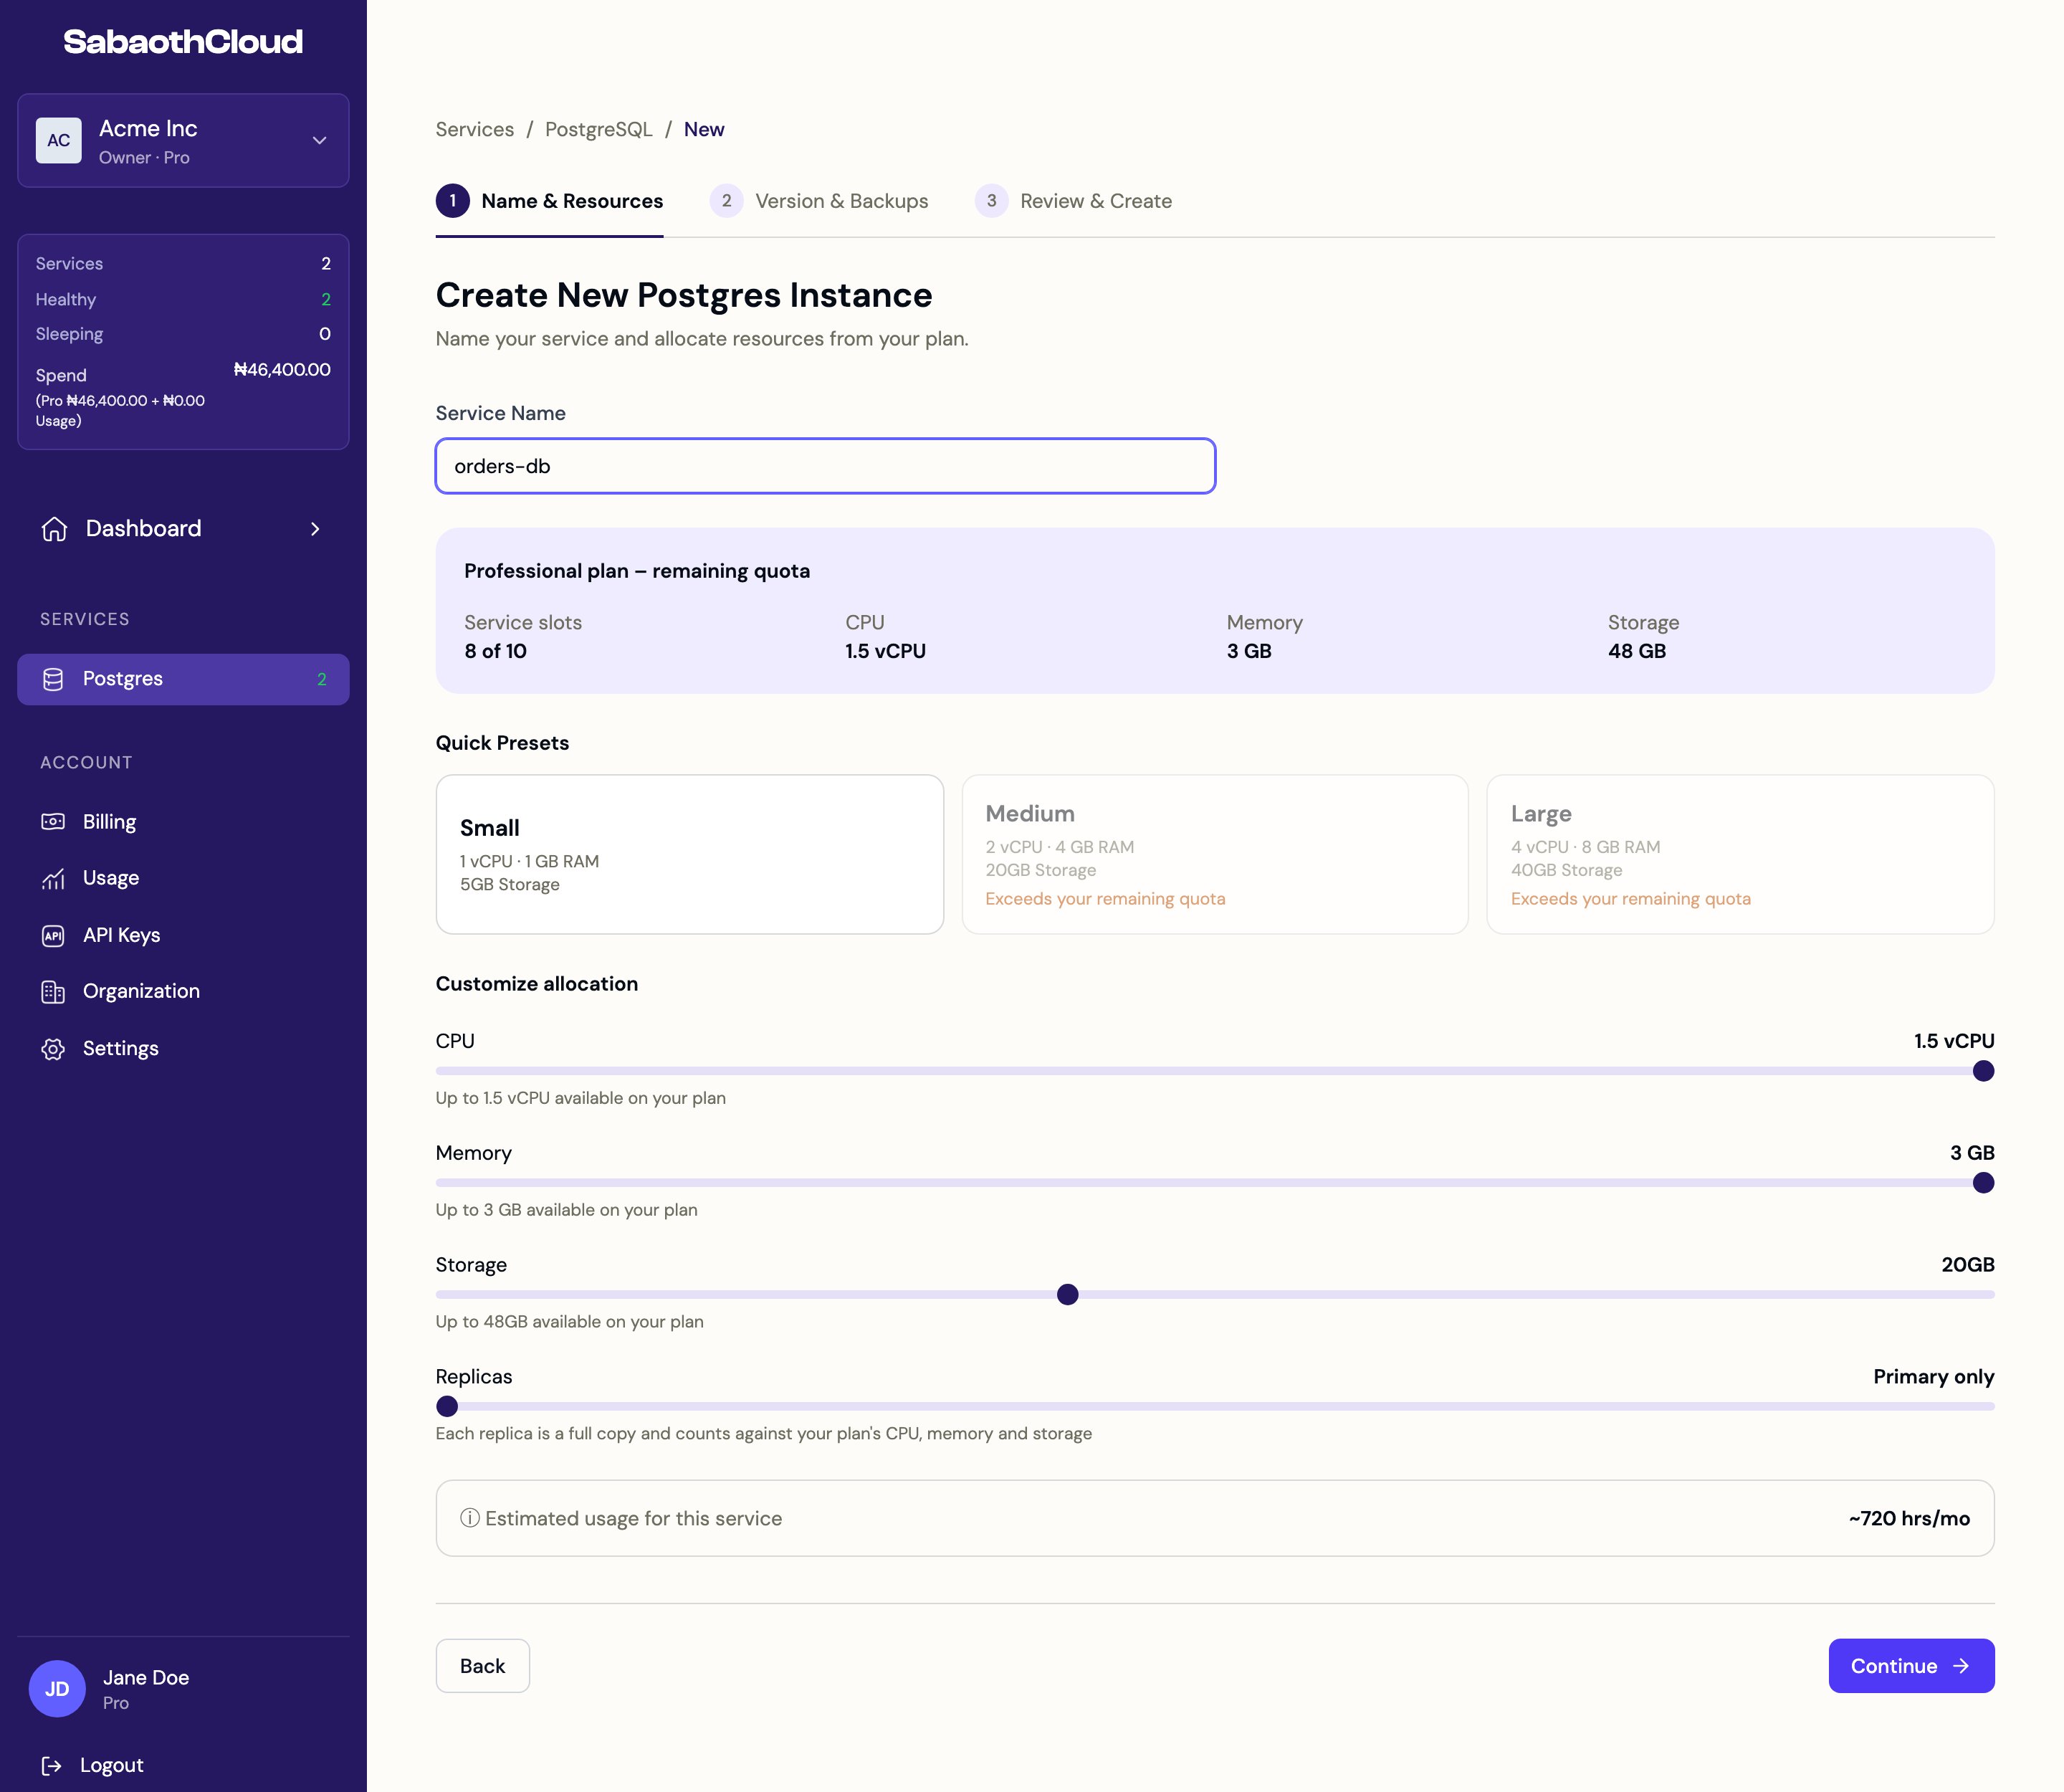
Service name
Enter a Service Name. It must:- Be 3 to 63 characters long
- Use lowercase letters, numbers and hyphens
- Start with a letter and end with a letter or number
orders-db, prod-db, analytics-db.
Remaining quota
The panel under the name shows what is left on your plan: Service slots, CPU, Memory and Storage. The sliders below never go past these limits.Quick presets
A preset that doesn’t fit your remaining quota is greyed out and marked Exceeds your remaining quota.
Customize allocation
Use the sliders to set exactly what you need:
Click Continue.
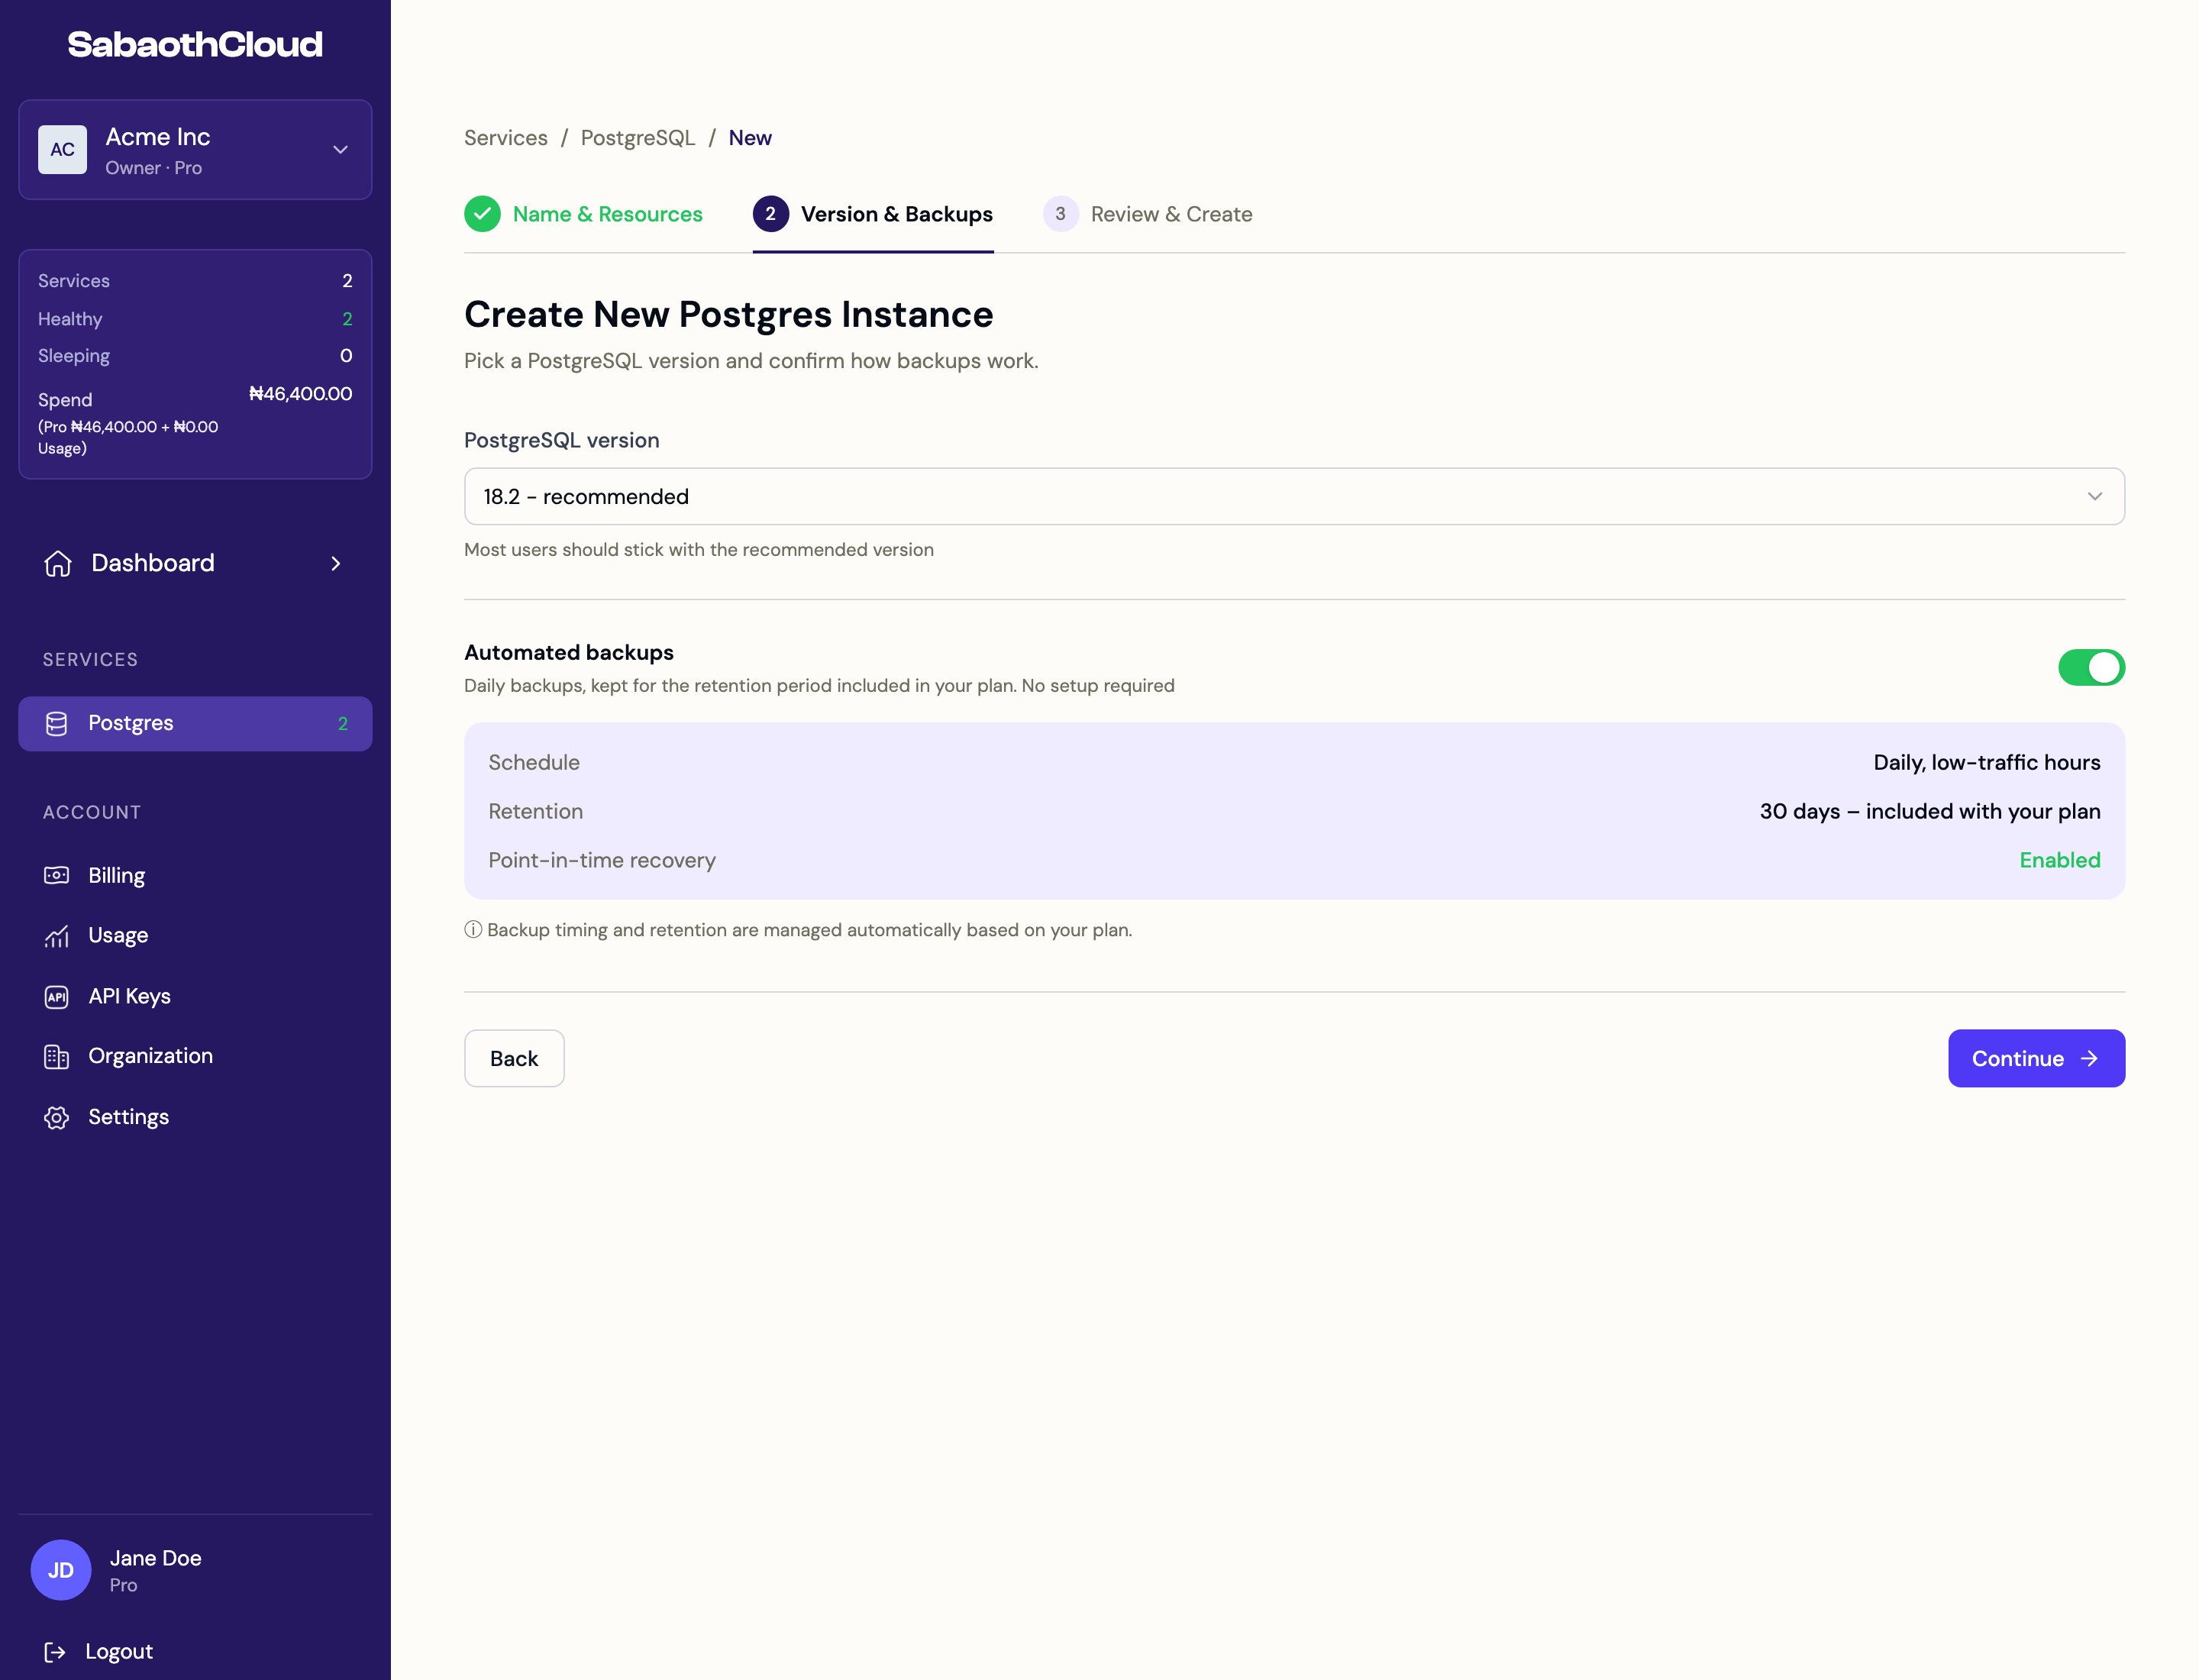
Step 2: Version and backups
Step 3: Review and create
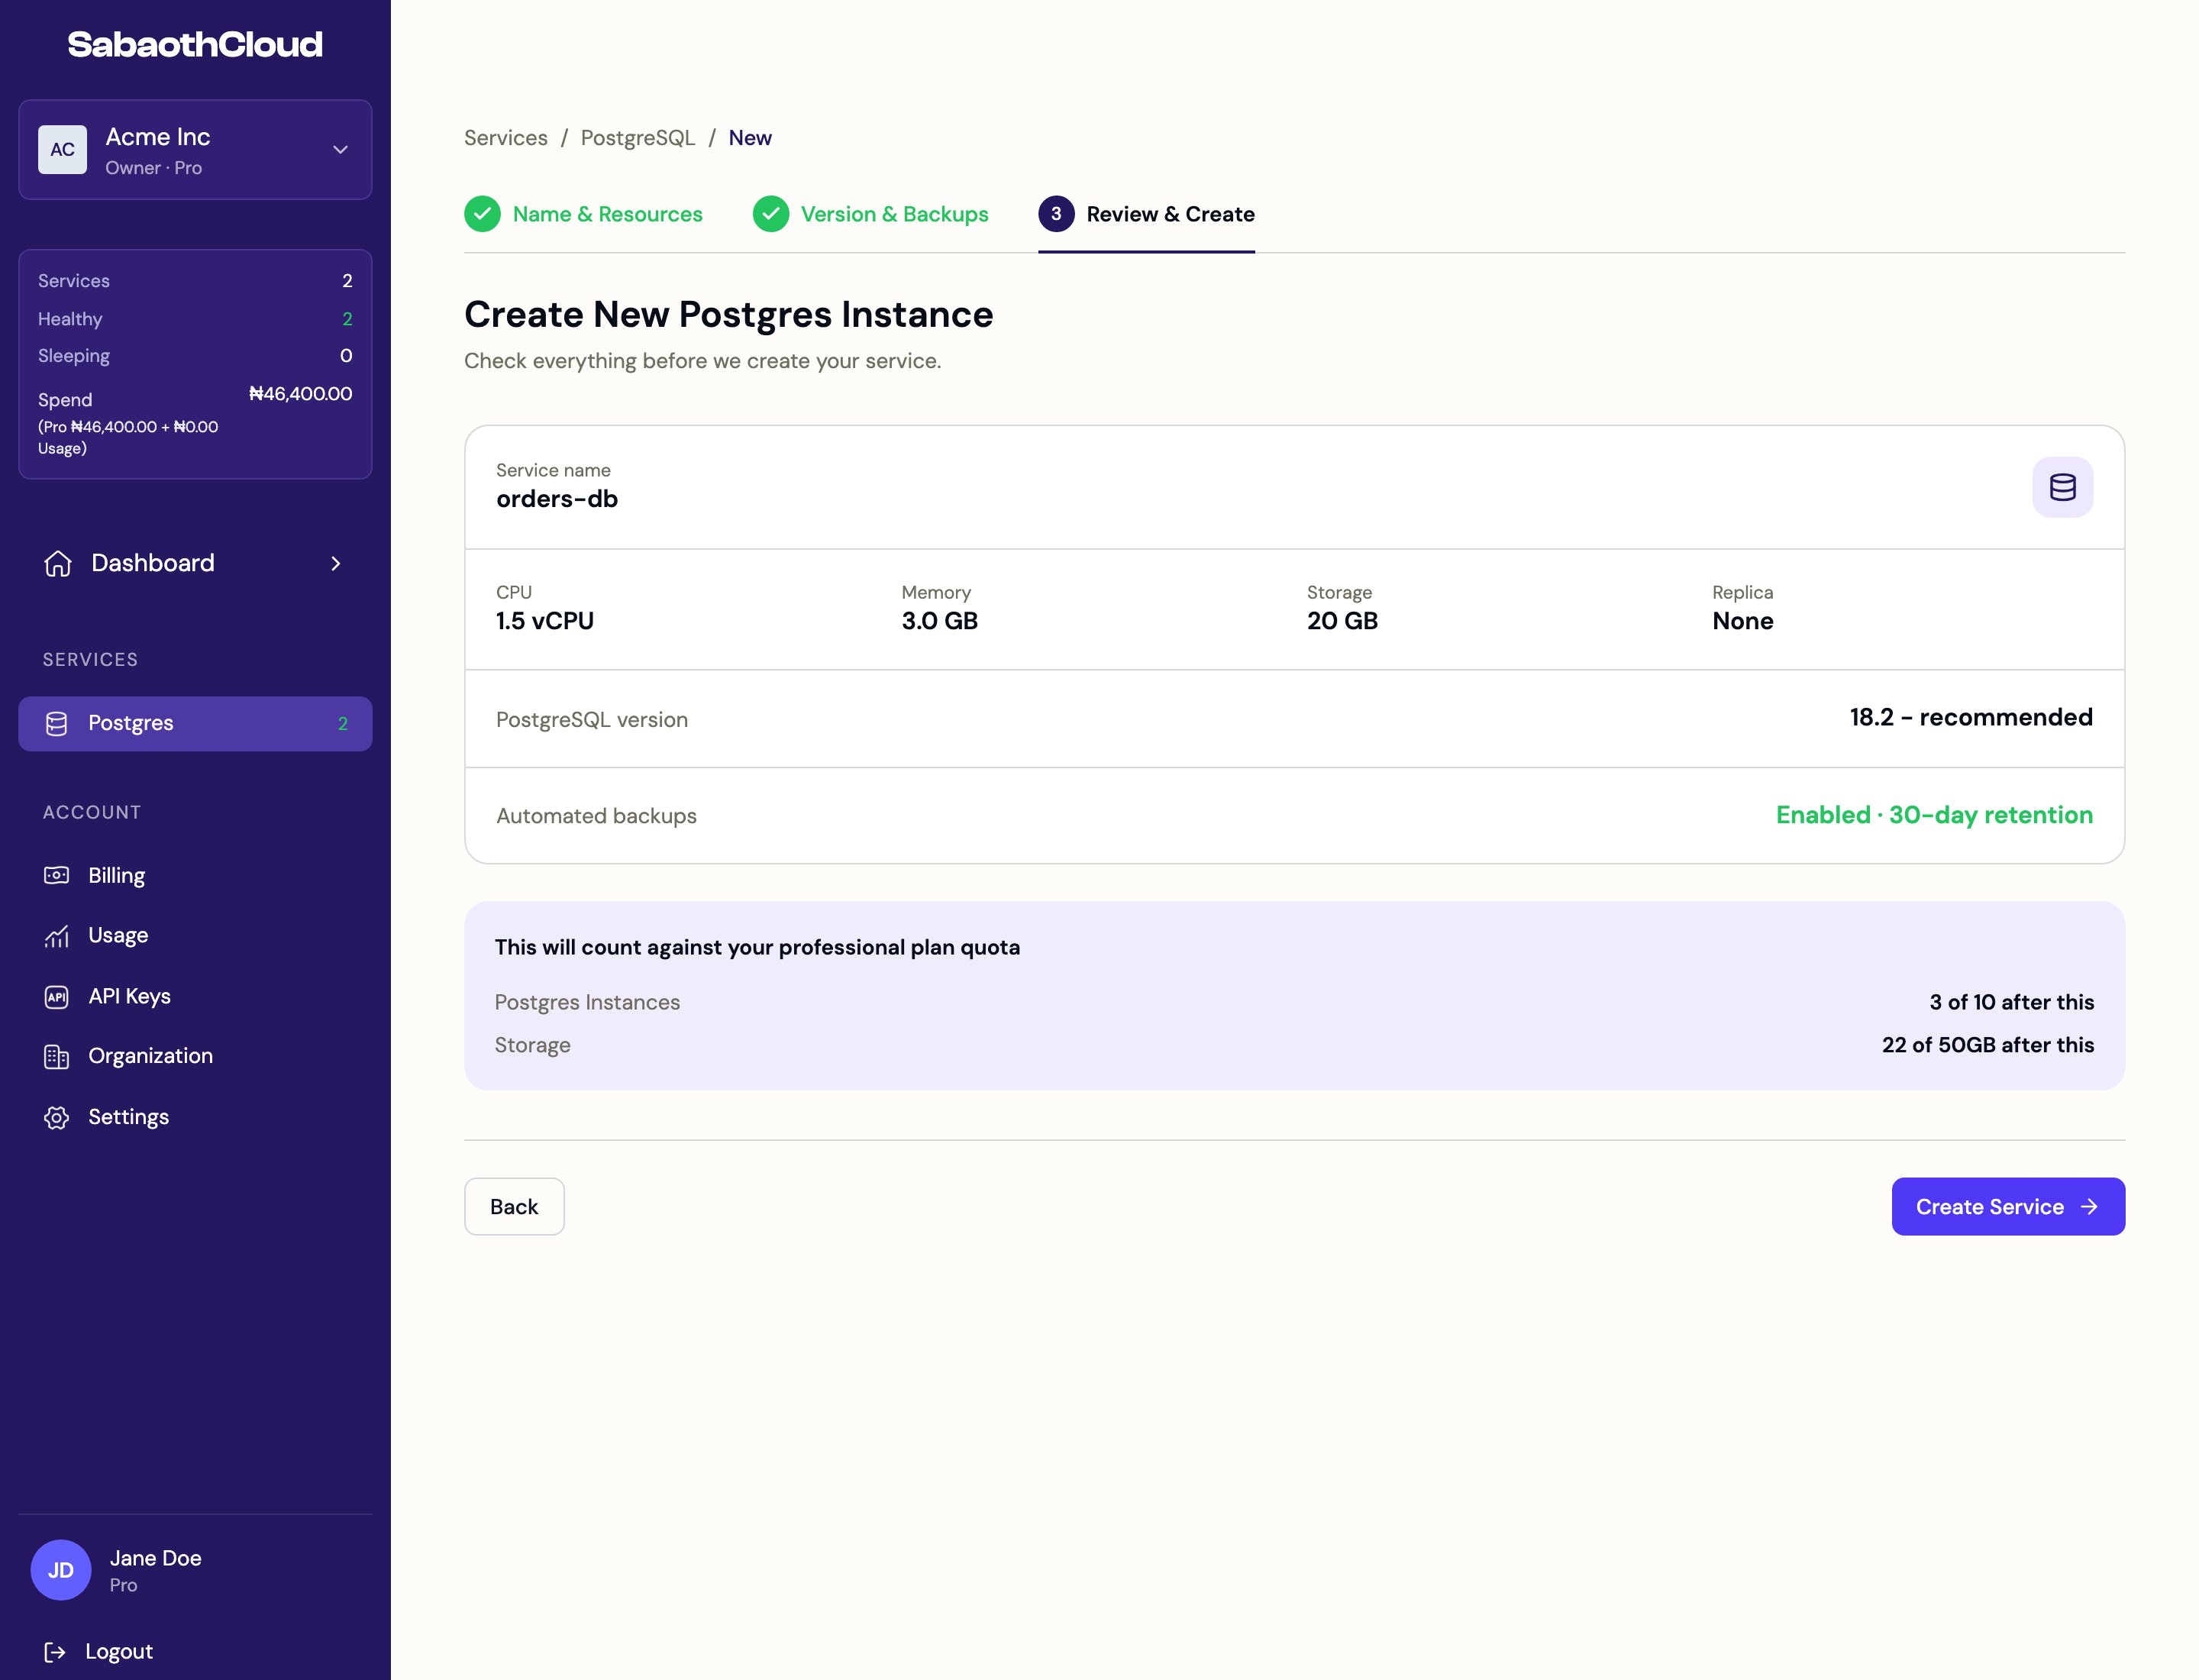
While the service starts
A new service shows Provisioning while it is set up, which usually takes a couple of minutes. The page checks for updates every 15 seconds. Changes to the service are paused until it shows Ready. If a service stays in one state much longer than expected, a banner says so, with Refresh status, View logs and Contact support options.If your plan doesn’t have room
If the service is larger than what’s left on your plan, the wizard explains which resource is short and offers two options:- Upgrade plan opens the plan selection page.
- Adjust resources returns to step 1 so you can choose a smaller size.
Next steps
Create a database user
Add a login for your application.
Connect to the service
Copy connection details and allow your IP address.