> ## Documentation Index
> Fetch the complete documentation index at: https://docs.sabaothcloud.com/llms.txt
> Use this file to discover all available pages before exploring further.
# Organizations
> Create organizations, manage their details, transfer ownership, and delete or restore them
An organization owns your services, members, billing and API keys. Every account starts with a **personal organization**. Create a separate organization to work with a team or to keep projects and their billing apart.
## View your organizations
Open the organization selector in the sidebar and click **Manage organizations**.
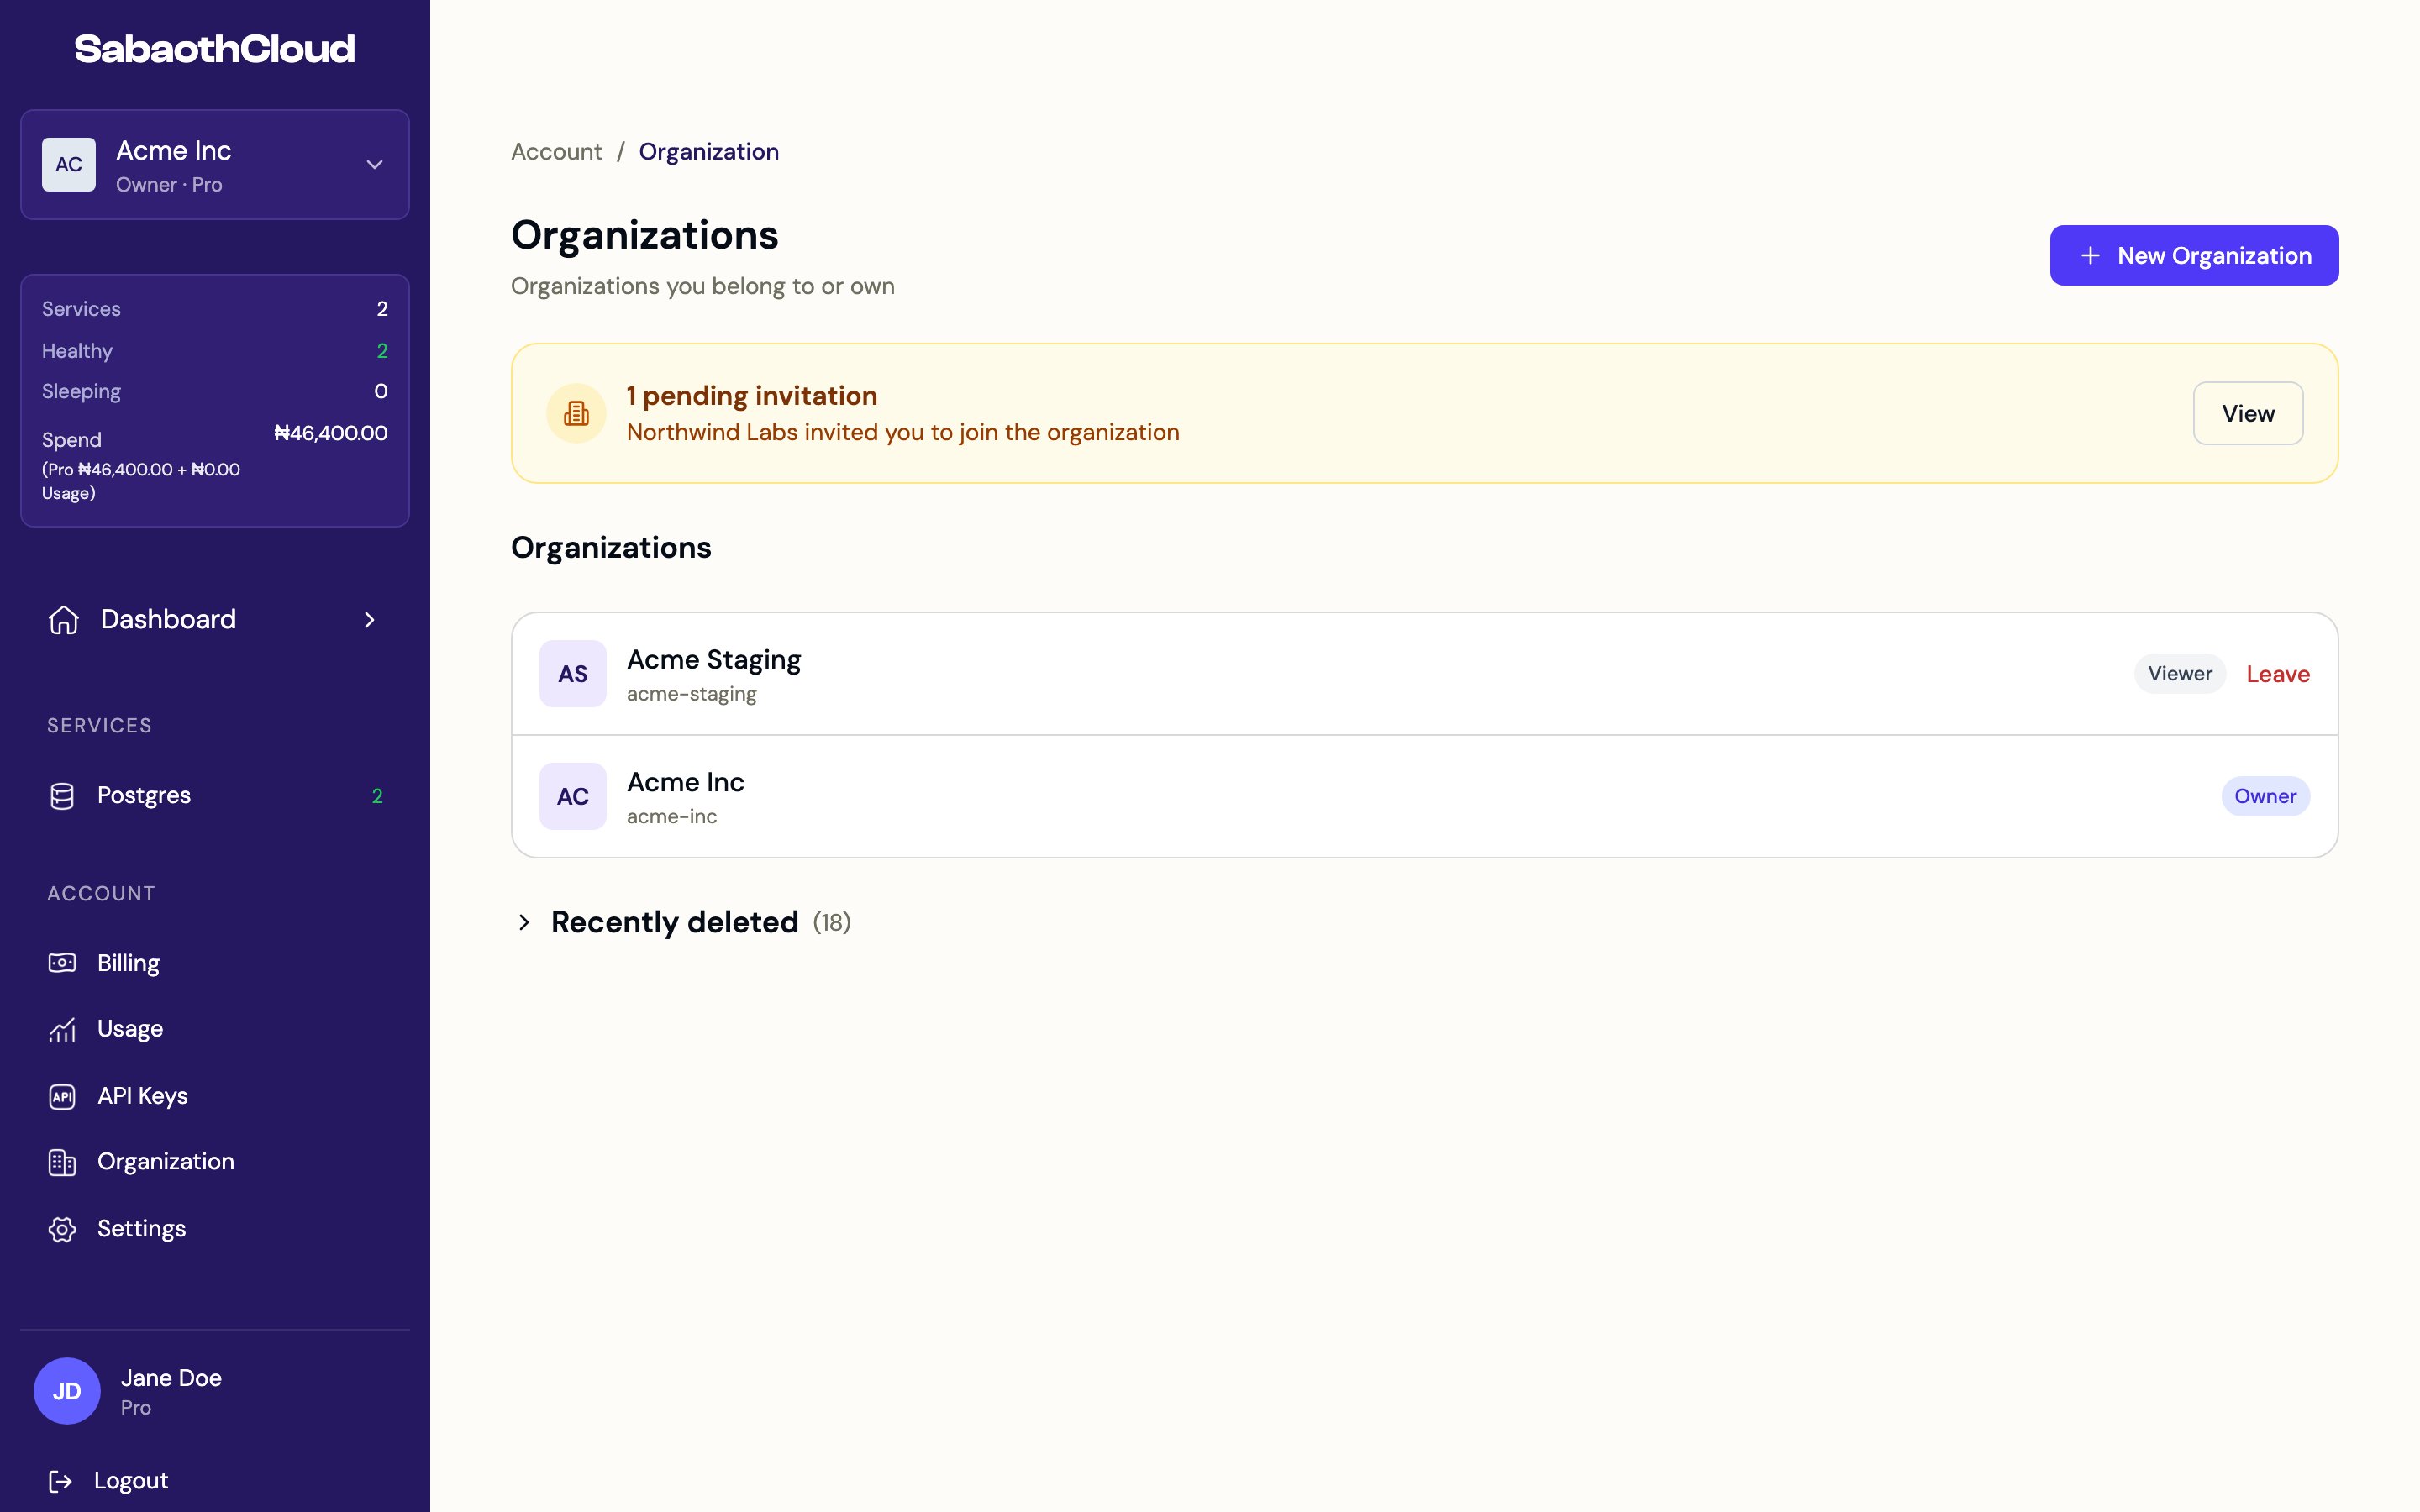 The page lists every organization you belong to, with your role in each. Pending invitations appear at the top. Click **View** to review one.
## Create an organization
Click **New Organization**, or **Create organization** in the organization selector. Creating an organization takes four steps.
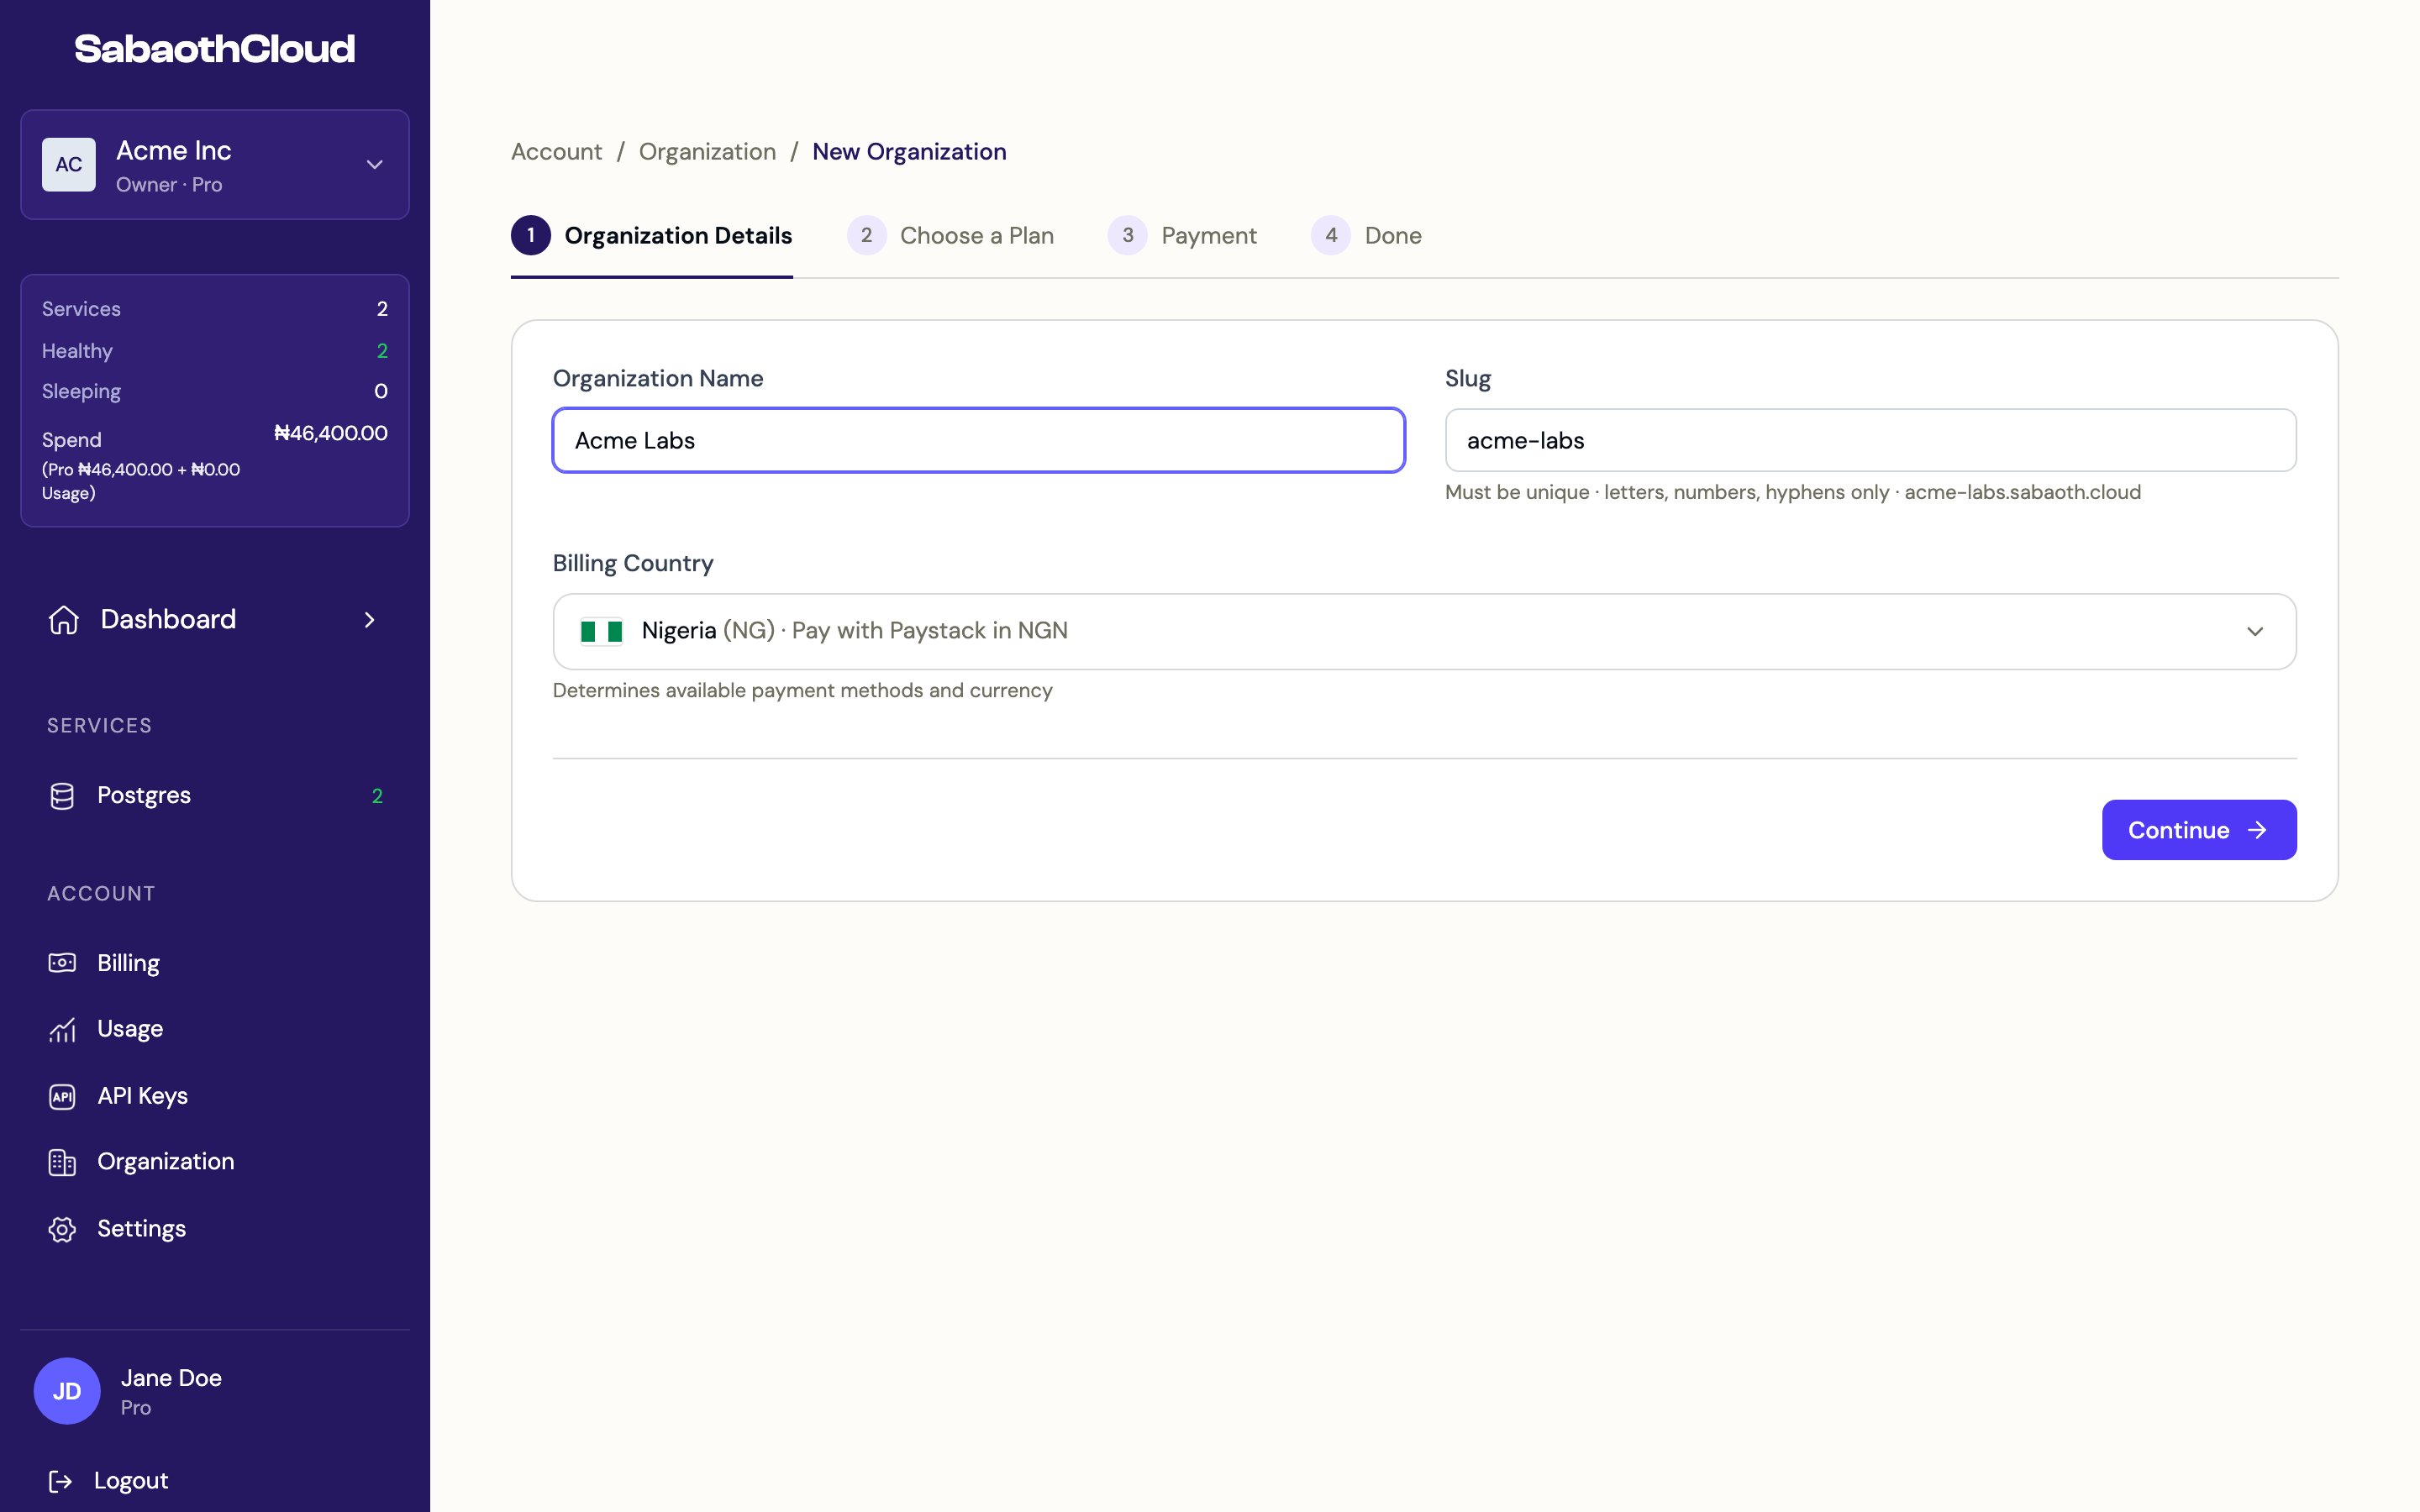
Enter an **Organization Name**. A **Slug** is generated from it: letters, numbers and hyphens, unique across SabaothCloud. The slug can't be changed later.
Choose the **Billing Country**. It sets the currency and payment methods. Nigeria, billed in NGN through Paystack, is currently available.
The page lists every organization you belong to, with your role in each. Pending invitations appear at the top. Click **View** to review one.
## Create an organization
Click **New Organization**, or **Create organization** in the organization selector. Creating an organization takes four steps.
Enter an **Organization Name**. A **Slug** is generated from it: letters, numbers and hyphens, unique across SabaothCloud. The slug can't be changed later.
Choose the **Billing Country**. It sets the currency and payment methods. Nigeria, billed in NGN through Paystack, is currently available.
 Pick the plan for the organization. See [Plans and pricing](/guides/pricing-plans).
Click **Continue** to open the secure Paystack checkout and pay with a card, USSD or bank transfer. Your plan starts as soon as payment is confirmed.
You see a summary with the plan, its status and the next invoice date. Click **Create your first service** to get started.
## Edit organization details
Go to **Organization** in the sidebar. The **General** tab shows the organization's details and a billing summary.
Pick the plan for the organization. See [Plans and pricing](/guides/pricing-plans).
Click **Continue** to open the secure Paystack checkout and pay with a card, USSD or bank transfer. Your plan starts as soon as payment is confirmed.
You see a summary with the plan, its status and the next invoice date. Click **Create your first service** to get started.
## Edit organization details
Go to **Organization** in the sidebar. The **General** tab shows the organization's details and a billing summary.
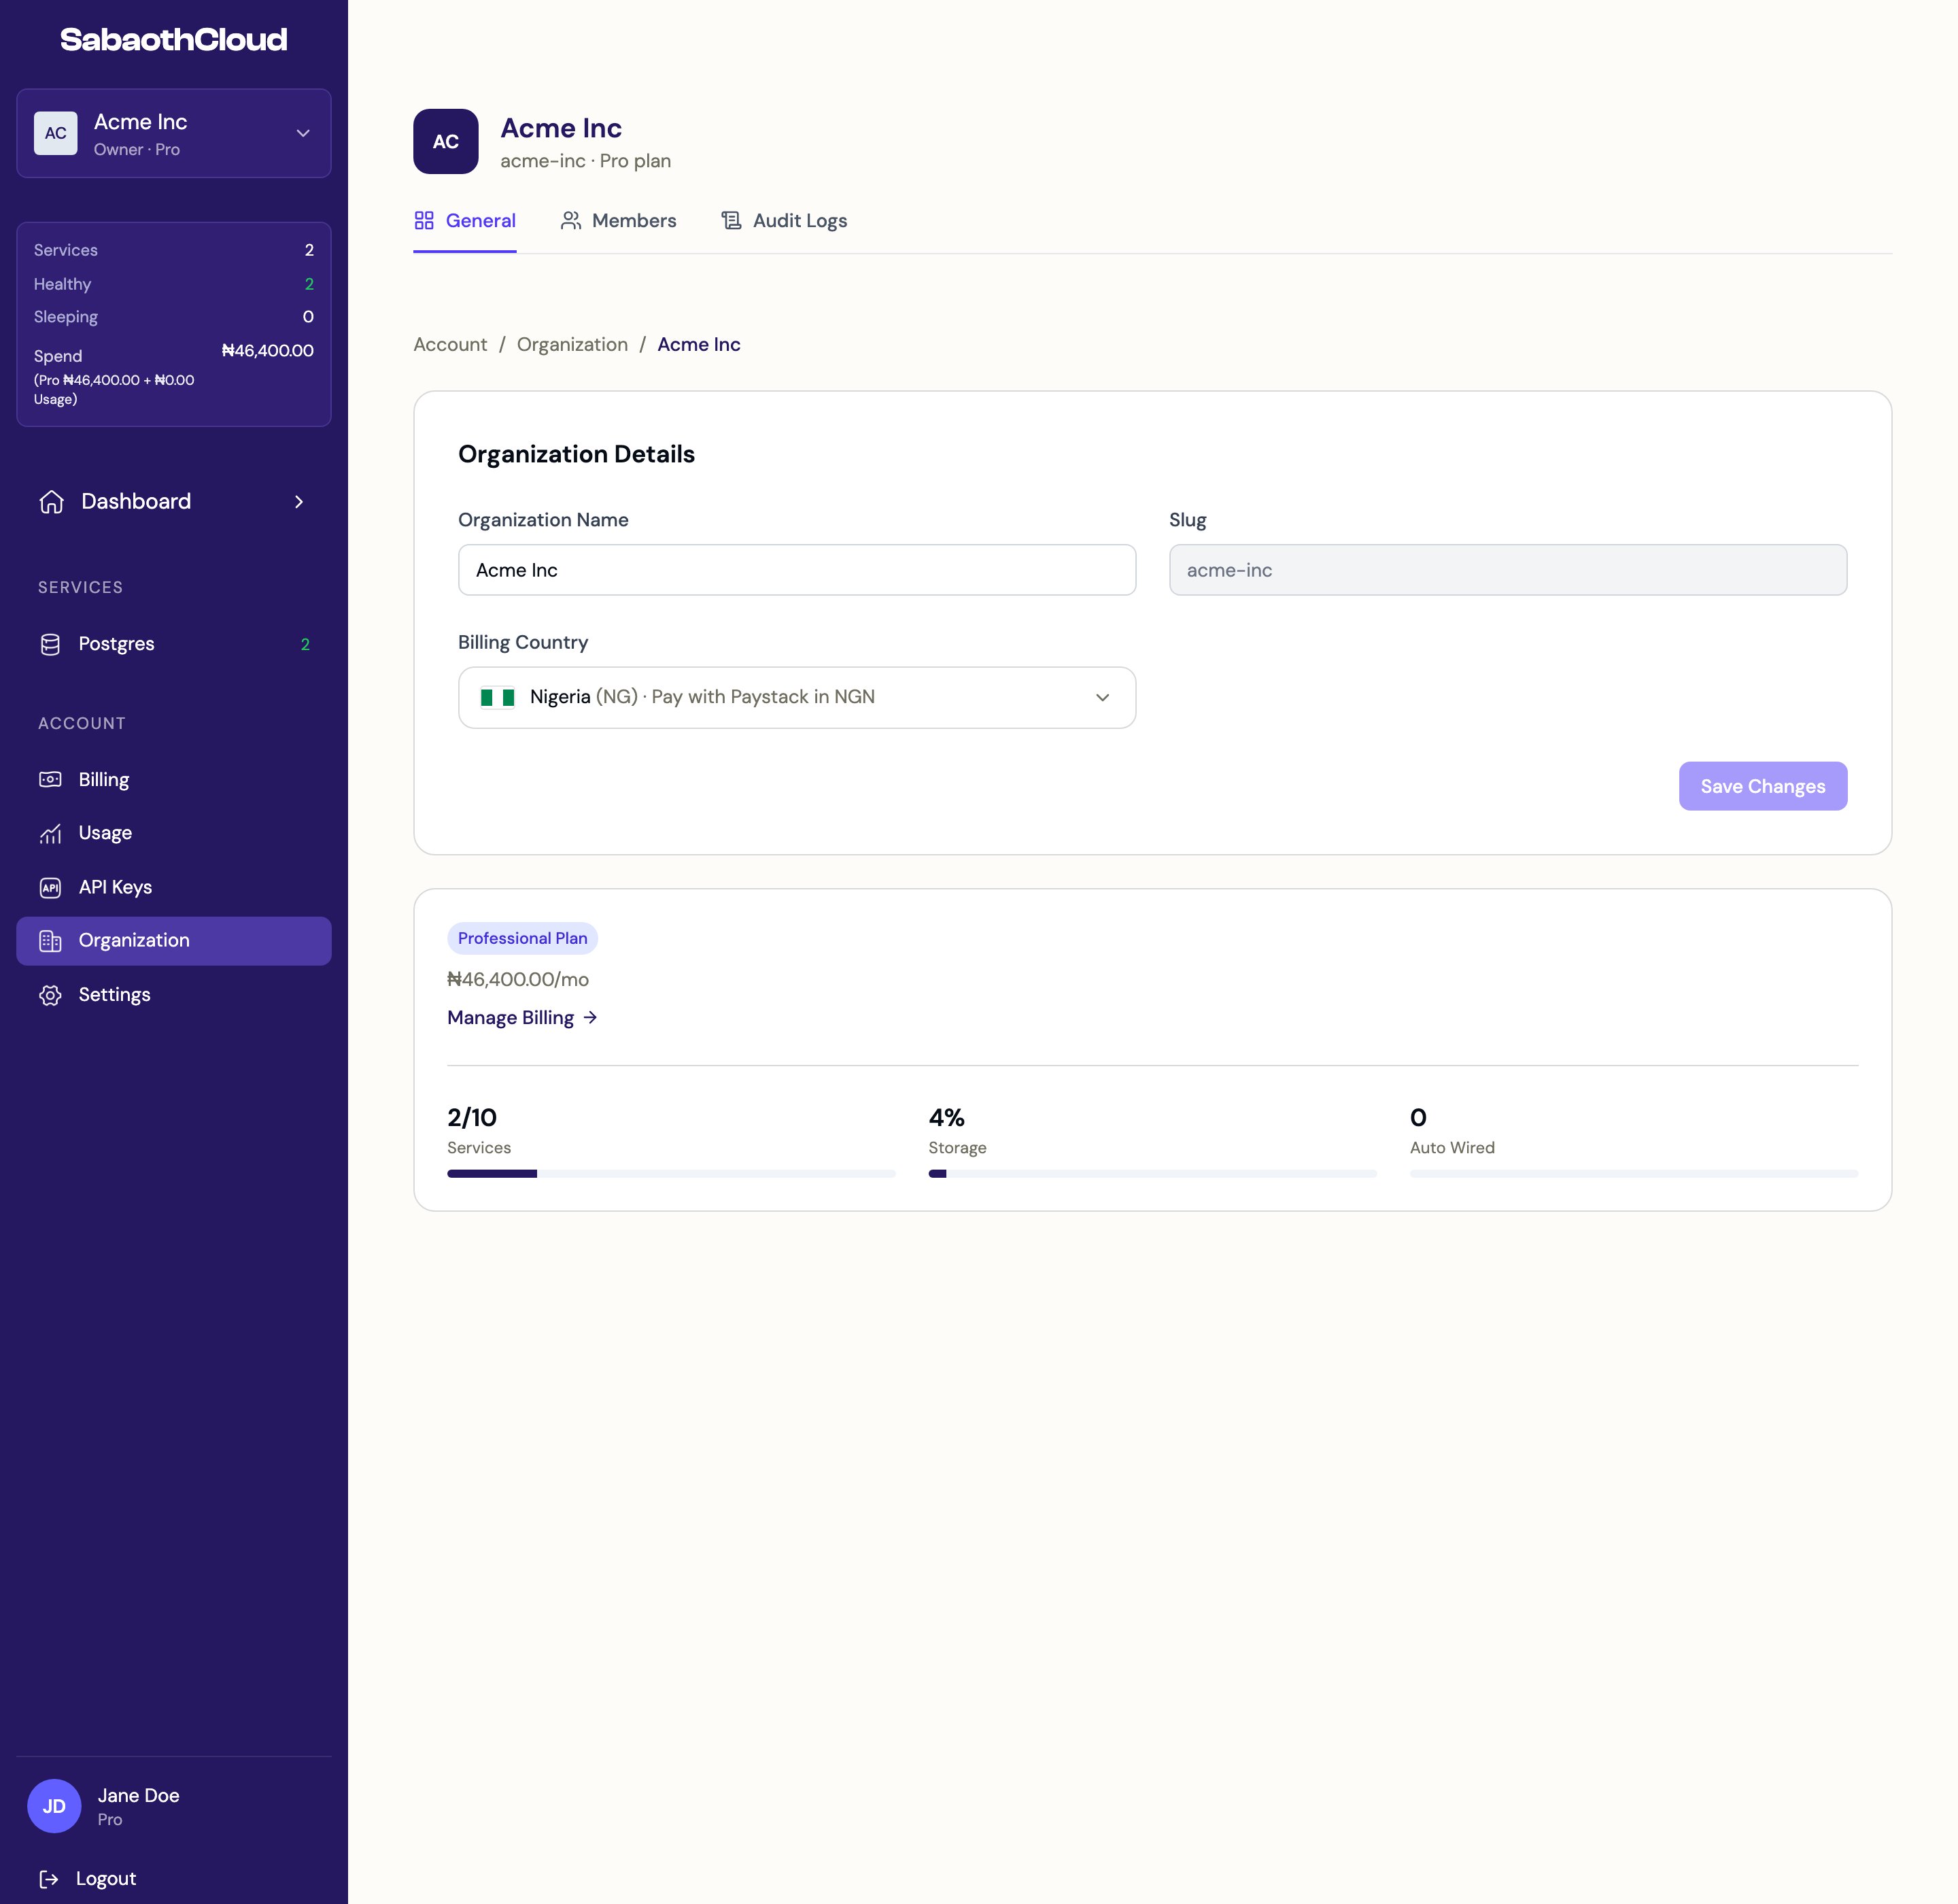 Owners and Admins can change the **Organization Name** and **Billing Country**, then click **Save Changes**. The slug can't be changed.
## Transfer ownership
Only the Owner can transfer ownership, and only to an existing member who has accepted their invitation.
1. On the **General** tab, find **Danger Zone** and click **Transfer**.
2. Select the member and click **Transfer Ownership**.
The new owner takes over and you become a regular member. This can't be undone by you.
## Leave an organization
On the **General** tab, click **Leave** under **Danger Zone**, or **Leave** next to the organization on the Organizations page, then confirm. You lose access to all its services.
An Owner can't leave while they are the only member. Transfer ownership first.
## Delete an organization
Deleting an organization removes it from everyone's organization list. Only the Owner can restore it, within 7 days.
1. On the **General** tab, click **Delete** under **Danger Zone**, or **Delete** next to the organization on the Organizations page.
2. Type the organization's name to confirm and click **Delete**.
Personal organizations can't be deleted.
## Restore a deleted organization
On the Organizations page, expand **Recently deleted**. Each organization shows the date it will be permanently deleted. Click **Restore** and confirm to bring it back with all its data.
## Accept an invitation
When someone invites you, the invitation appears under the bell icon and at the top of the Organizations page.
1. Click **View** next to the invitation.
2. Check the organization, the role offered and who invited you.
3. Click **Accept** to join, or **Decline**.
This documentation is built and hosted on [Mintlify](https://mintlify.com), a developer documentation platform.
Owners and Admins can change the **Organization Name** and **Billing Country**, then click **Save Changes**. The slug can't be changed.
## Transfer ownership
Only the Owner can transfer ownership, and only to an existing member who has accepted their invitation.
1. On the **General** tab, find **Danger Zone** and click **Transfer**.
2. Select the member and click **Transfer Ownership**.
The new owner takes over and you become a regular member. This can't be undone by you.
## Leave an organization
On the **General** tab, click **Leave** under **Danger Zone**, or **Leave** next to the organization on the Organizations page, then confirm. You lose access to all its services.
An Owner can't leave while they are the only member. Transfer ownership first.
## Delete an organization
Deleting an organization removes it from everyone's organization list. Only the Owner can restore it, within 7 days.
1. On the **General** tab, click **Delete** under **Danger Zone**, or **Delete** next to the organization on the Organizations page.
2. Type the organization's name to confirm and click **Delete**.
Personal organizations can't be deleted.
## Restore a deleted organization
On the Organizations page, expand **Recently deleted**. Each organization shows the date it will be permanently deleted. Click **Restore** and confirm to bring it back with all its data.
## Accept an invitation
When someone invites you, the invitation appears under the bell icon and at the top of the Organizations page.
1. Click **View** next to the invitation.
2. Check the organization, the role offered and who invited you.
3. Click **Accept** to join, or **Decline**.
This documentation is built and hosted on [Mintlify](https://mintlify.com), a developer documentation platform.